
-
- Here I’m posting some of the steps of mounting a canvas and starting a tempera painting.

- Here is the stretched and primed canvas on the easel ready to use.
In the spring there’s a lot of light and colorful motif, but it all goes away when the fall comes in. That’s the season I prefer to do tempera painting; when it’s not too hot.
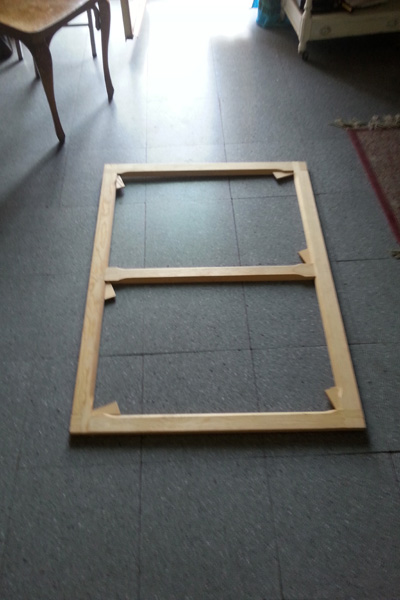
Make sure the corners are squared.
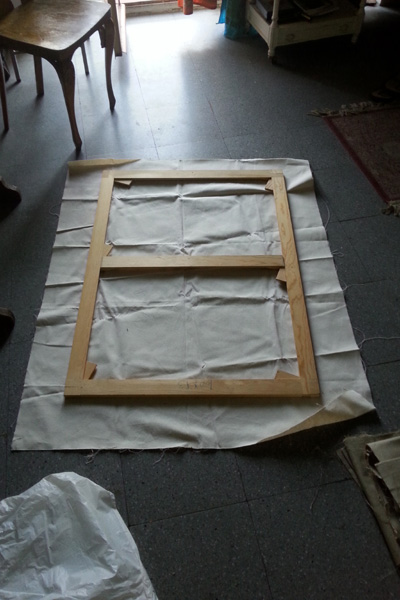
This is called Duck-Cloth. It’s made of good quality cotton and is inexpensive. After stretching the canvas, it is sized with glue. I use rabbit skin glue ( in the white coffee cup) brushed on the canvas lightly with a wide brush.

Once the canvas has been sized and is completely dry, it is primed. It’s made by mixing 3 equal parts of zinc oxide, calcium sulfite and rabbit skin glue. I buy these ingredients here in Madrid; most art stores have these products.

Primed.
It takes about a day and a half to stretch, size and prime a canvas because of the drying time.

I made a quick charcoal drawing on the canvas to put everything more or less where it belongs.
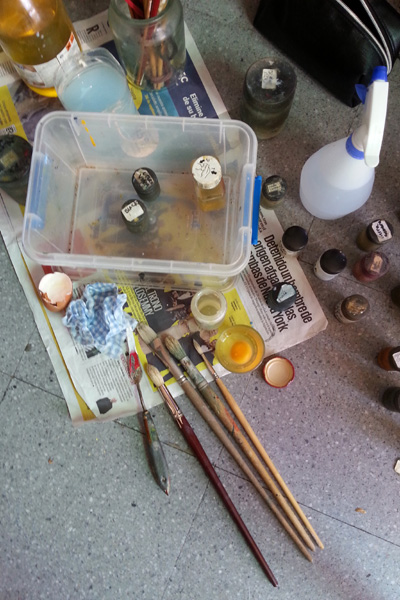
Here is my set up with newspaper, brushes, spray bottle, pigments, water container. This is a water-based medium.

Pigment mixed with emulsion and water container
When the emulsion and the pigments are mixed together, they should stand up, not run to meet the surface of the table.

This is the first session.

Session 2. Building up Color.
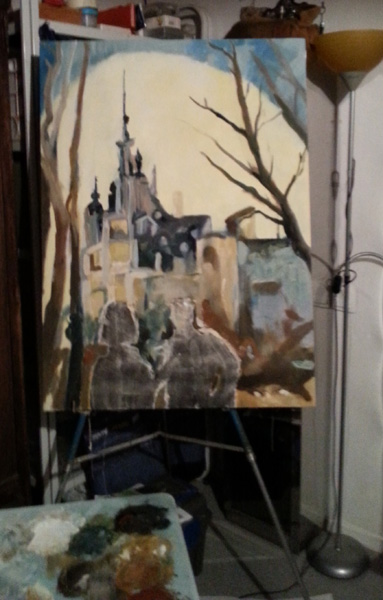
This is the 3rd session. One of the things I like about painting is that I don’t know exactly what it will look like when it’s finished. This painting is still in process.

Leave a comment